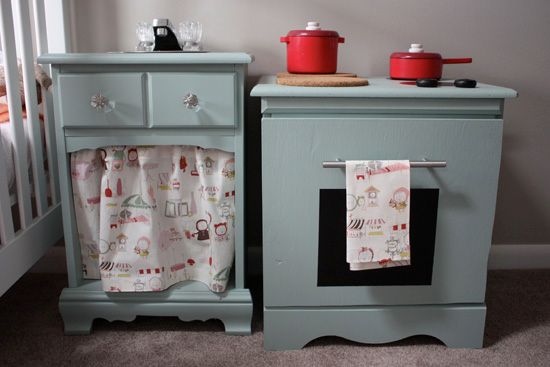
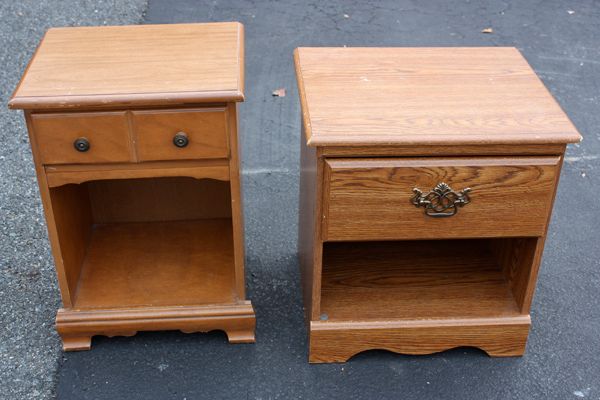
I'm finally getting around to giving you a bit of a closer look as to how we put Lucy's play kitchen together. I'll admit when I purchased the two mismatched nightstands from my favorite vintage shop, aside from slapping on a few coats of paint, I really wasn't sure how I planned to tackle this project. Once the ideas started rolling, things came together pretty easily, with only a few minor hiccups. I'll admit I had a few more grandiose ideas, but I let reality settle in that I'd mostly be doing them for myself since she's too young to really appreciate them, yet.
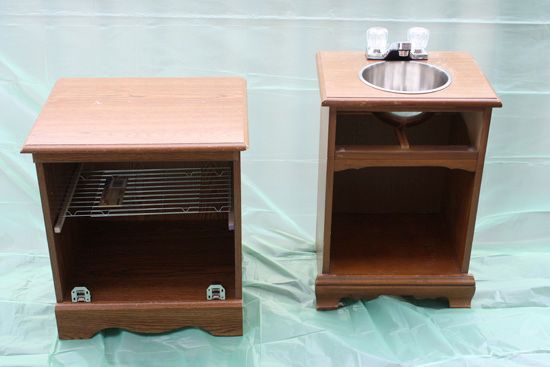
I spent just under $20 on these two pieces. I decided pretty quickly that the tall, skinny nightstand would be the sink and the short, 'fat' one would work best as the oven.
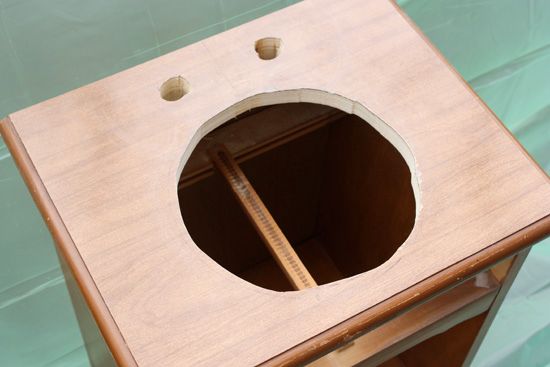
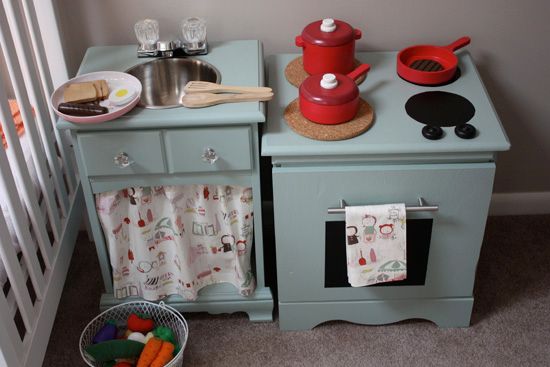
I purchased a cheap bathroom faucet for $11 from Home Depot and a metal bowl from the dollar store to be the sink and faucet. With Jordan's help (ok, he did it all...) we traced the outline of the bowl on the top of the skinny nightstand, and cut a hole slightly smaller to fit our makeshift sink. He also cut two smaller holes to attach the faucet. Since it's a pretend kitchen, we simply tossed any plumbing accessories for the faucet. Because of the depth of the bowl, the drawer wouldn't be able to open. We removed the drawer and detached the front so we could add new hardware, paint, and reattach.
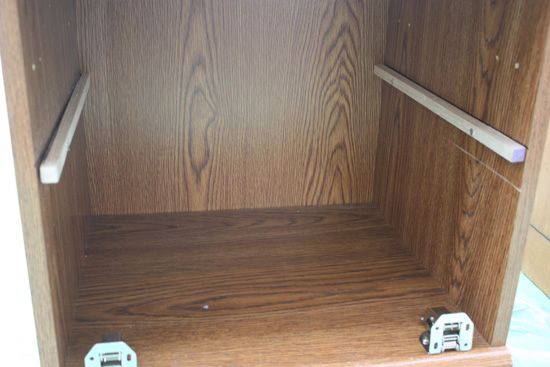
Jordan attached these wooden dowels (similar to the ones I used for the schoolroom hook rack) from Home Depot to use to hold the fake oven rack I purchased from our local Dollar Deals shop.
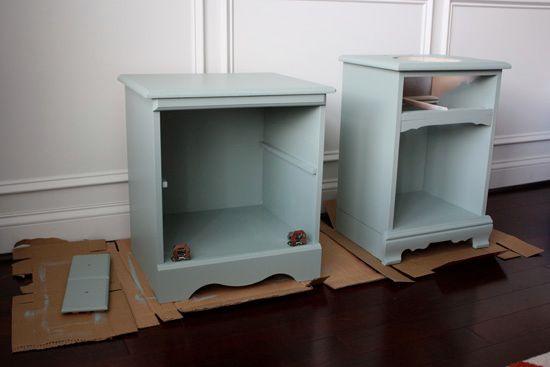
We struggled a bit with how we were going to make an oven door. I really wanted to make one that looked as realistic as possible with a plexiglass window that opened from the top. We sort of did the oven door last since we were undecided, but didn't want to slow the process. Once the rest of the kitchen was finished structurally, it was time to paint.
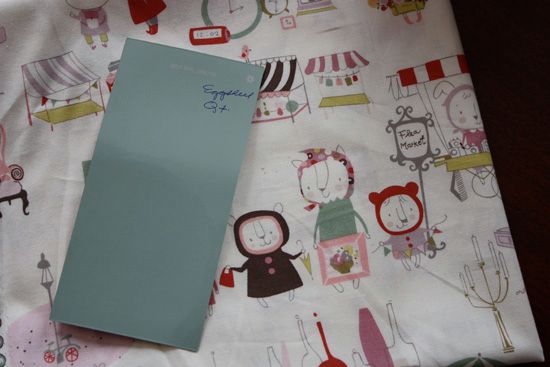
In case you're curious, I purchased the adorable flea market fabric from my local JoAnn Fabric store and the paint is Martha Stewart 'Milk Pail'.
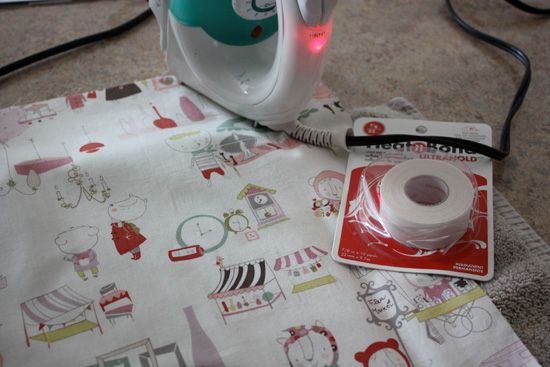
I fell in love with the fabric and wanted to use as much of it as I could so I decided not only to make a 'skirt' for under the sink, but to use some of the leftover material to make tea towels. Of course I have zero sewing skills so I left it up to my iron-on-hem skills to get the job done. The skirt was attached using a tiny tension rod I found at Target.
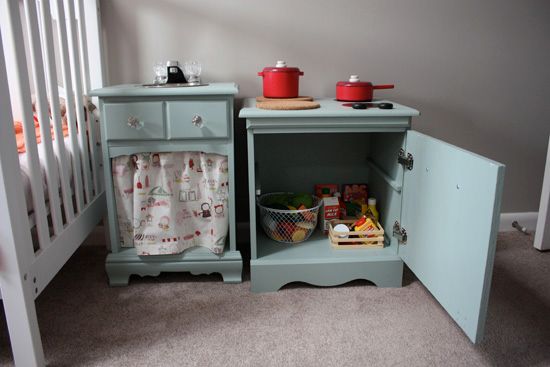
For the oven door we ultimately decided to pick up a piece of scrap wood from Home Depot and cut it down to size. We originally attached the door with the hinges at the bottom so that the it would open like a real oven, but Lucy kept trying to stand on the open door and I would have a mini panic attack thinking it would break and she'd hurt herself. I decided safety came first and we swapped the hinges so the door opened from the side.
The handle is a simple drawer pull and the 'window' is actually chalkboard paint. The oven rack also didn't last long .We still have it and keep it handy, but Lucy just wanted to remove it every time she played anyway. Maybe one day we will attach it 'permanently'. The oven burners are also painted using chalkboard paint and the cork trivets were a cheap Ikea purchase.
The best part of the design is that both the oven and the sink double as storage to keep all of Lucy's play food, pots and dishes somewhat organized when she isn't playing.
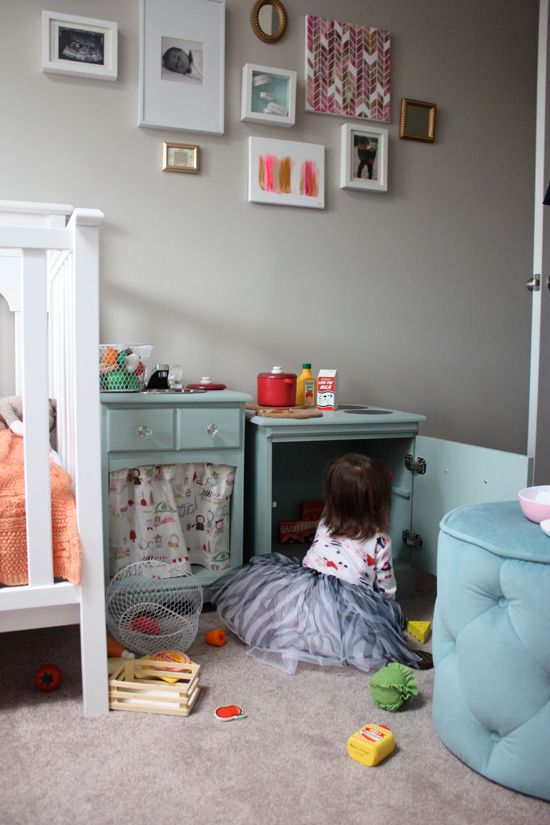
We decided to keep the kitchen in Lucy's bedroom for two reasons. First being that we are pretty much maxed out on space for more toys in our living room, but also because we wanted a place upstairs where Lucy could play and keep herself occupied when Jordan and/or I needed to get ready for work, do some laundry or take a quick shower.
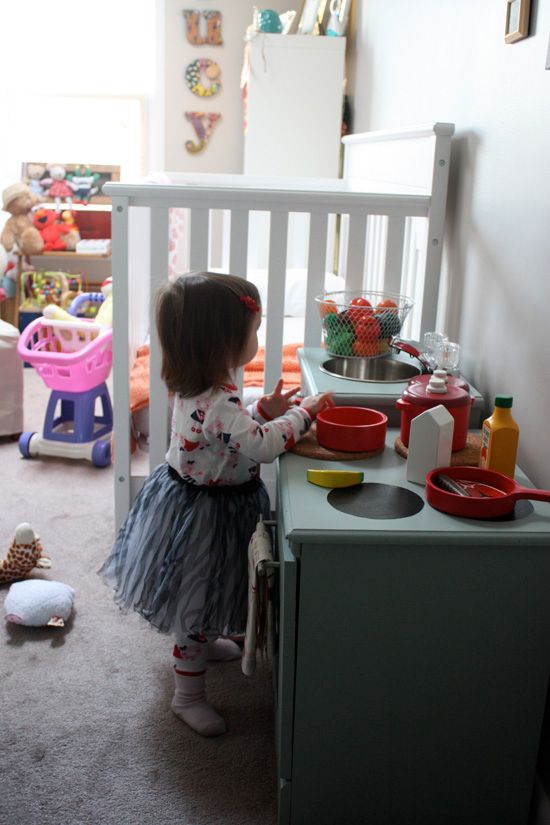
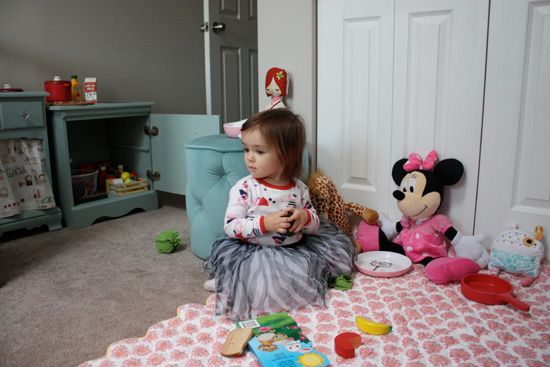
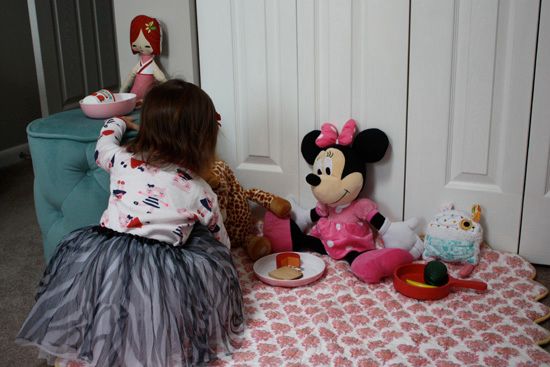
As you can see, Lucy loves her kitchen. She particularly enjoys sticking some of her smaller stuffed animals in the sink for a 'bath'. No matter how she uses it, this project was well with the time and effort.

LOVE how the cocoa & hearts painting looks in her room! soo cute everything! :)
ReplyDeleteMadebygirl.blogspot.com
MadeByGirl.com
Thanks so much Jen! I really love the painting and it fits in her room perfectly.
Delete