
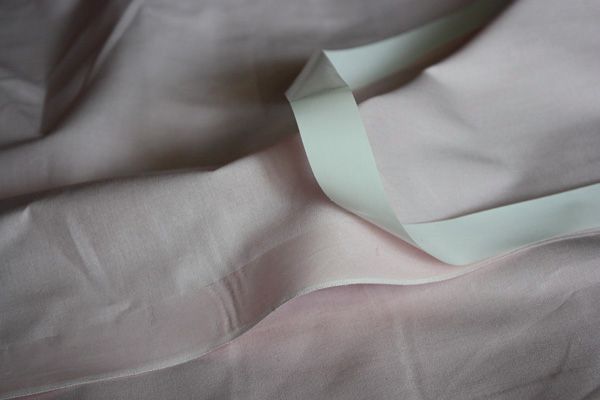
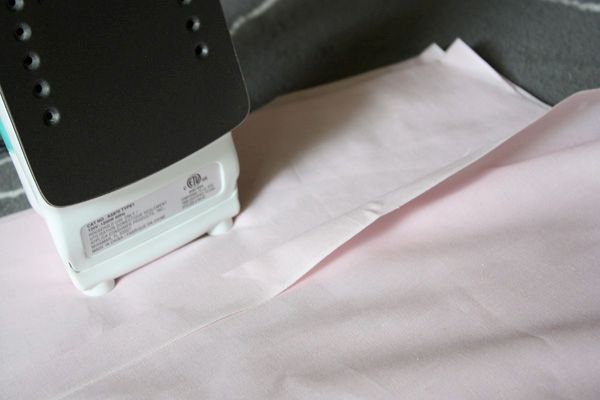
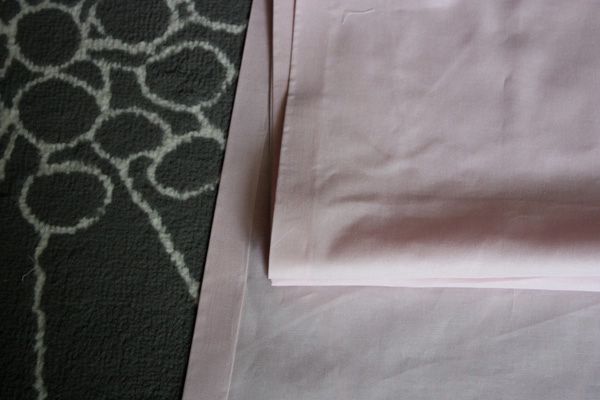
The fabric was purchased from JoAnn Fabrics in a soft pink color. I knew I planned to hang the curtains a little higher than the window so to be safe I purchased two cuts of three yards each of the pink fabric. Once I had my fabric home I got to work hemming the edges. For a detailed explanation of how to make a no sew hem, check out my tutorial for Lucy's crib skirt.


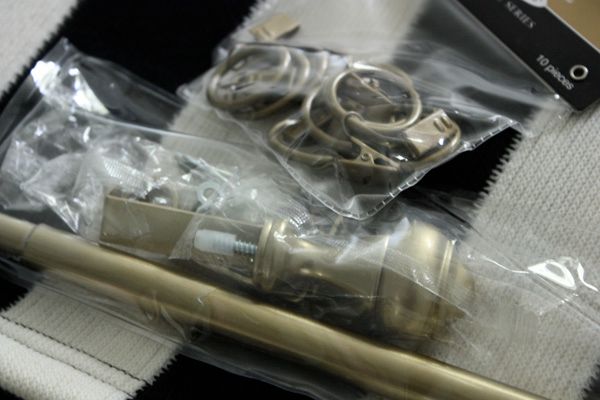
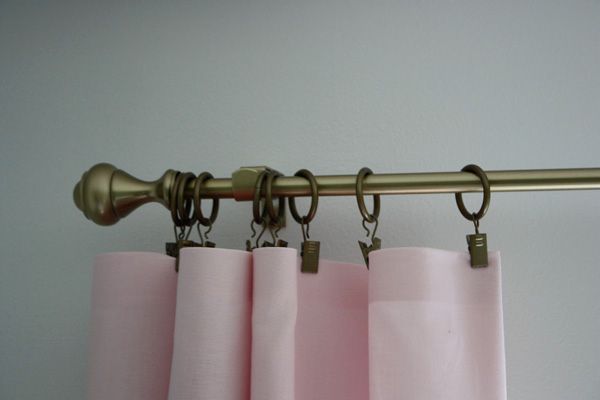
Once the curtains were hemmed I was ready to hang the rod and see my finished project. I bought the curtain rod from Home Depot a few months back thinking that I would also purchase the curtains and not need clips. When I decided that I was going to make my own curtains (but the no sew method without any rod pockets) I needed clips to hang the panels. I lucked out when buying the fabric that JoAnn Fabrics was having a sale on hardware for window treatments. I snagged two packs of rings and crossed my fingers that the gold would match the curtain rod. I made sure to check when I got home - success! Yesterday morning while my two loves slept I finished hemming my curtains and hung them in the room.
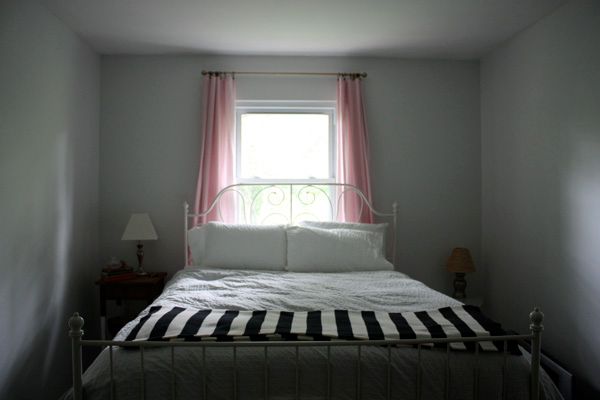

The best part of this project? Not only did I make the curtains, but I hung the rod. All by myself. With a drill. And properly anchored it into the wall. I'm pretty proud of myself. It was the first time I ever used a drill. Granted it took me 10 minutes to figure out how to insert the drill bit, but once I tackled that I was good to go! I originally asked Jordan to hang it when he woke up yesterday morning, but I felt bad making him do things around the house on Father's Day. Plus what kind of DIY-er am I if I can't even hang a curtain rod by myself? So I let the boy sleep in and took care of it myself.
Since I like to 'keep it real' on the blog, here are some shots of how the rest of the room really looks. Eek!
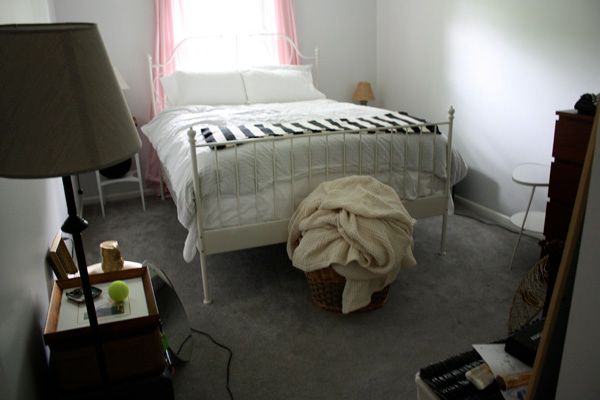
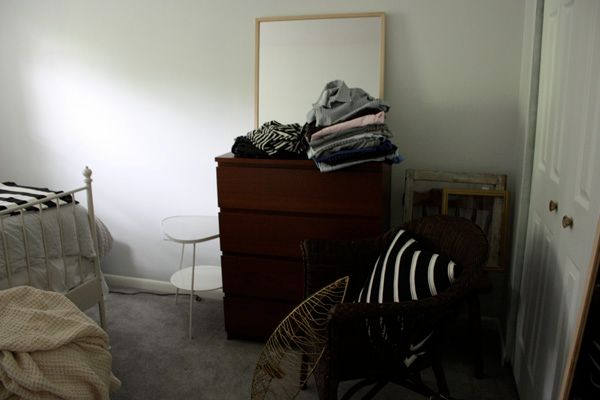
There is still a ton to do in this room, but I'm getting excited with each project completed, no matter how small. Seeing the curtains hung has made me confident in my decision to add some color to the original gold/white theme. It was so easy to do and took little to no time. Maybe I'll make curtains for my other rooms, too....
Happy Monday :)
No comments:
Post a Comment