

I'm really excited to share this next project with you all. I've been wanting to paint the rug in our laundry room for some time now, but couldn't decide what pattern or design I wanted to paint. My initial thought was to do some script, but I nixed that idea thinking it would be too complex for my first time painting a rug. I'm a lover of all things chevron, but since it seems that chevron is literally everywhere these days, I decided to take a spin on chevron and do more of a herringbone print.
One of my favorite aspects of this project is that I cost me $0 to complete. I already owned the rug, the painter's tape, and paint. Rather than buying special paint for the rug I used some old Ultra Pure White paint that I bought from Home Depot and was leftover from another project. I'm big on using up leftover supplies before purchasing new ones. I also opted to use a sponge brush which made it easier to sort of 'blot' the paint on and keep it from seeping under the tape line.
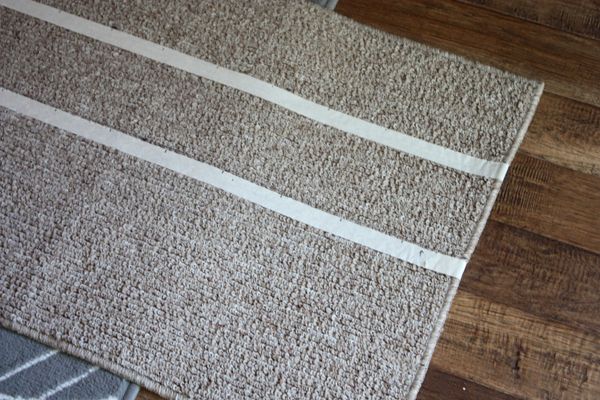
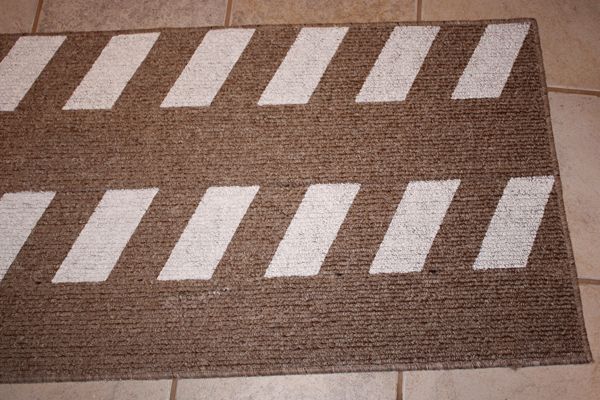
To start I divided the carpet up lengthwise into four sections. I figured it would be easiest to do every other line with the herringbone pattern first, then do the alternating sections once it dried. It was easier this way since it was important that I positioned the tape along the outside edge of the section to be painted.
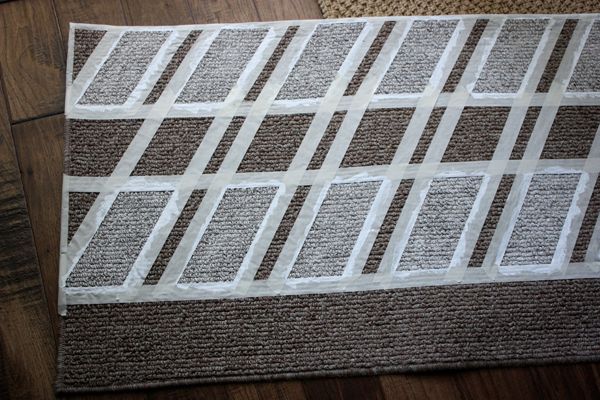
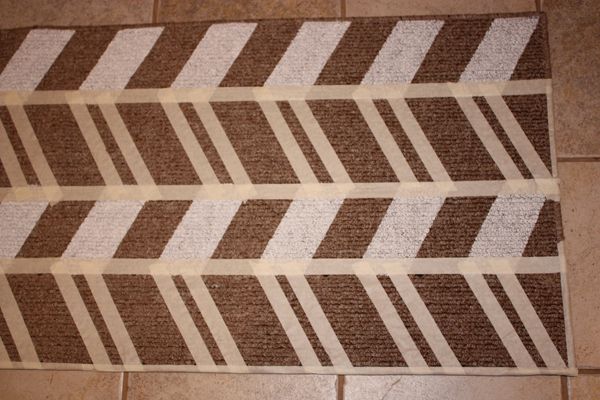
The rug is 5 feet long and I divided it up so that each herringbone piece would be 3 inches wide. So I made 3 inch marks along my tape line and edge of the carpet, then placed pieces of tape sot hat the top and bottom were one mark apart, creating a diagonal effect. To keep myself a little saner and to avoid mistakes I also marked a small arrow on the tape to make sure that I knew which side of the tape was to be painted. Once all the sections were taped off I got to work filling in with the white paint. Like I mentioned above, I painted with more of a blotting method, pushing the edges of the tape into the rug to avoid anything bleeding through. It took two coats of paint to get the desired color. I considered doing three for a deep, bold white but liked the look of two coats and thought it looked a little more natural.
 '
'
Note: I decided to tape off the half inch where the seam on the edge of the carpet was. That way once the tape was peeled of it left a clean edge all around the carpet.
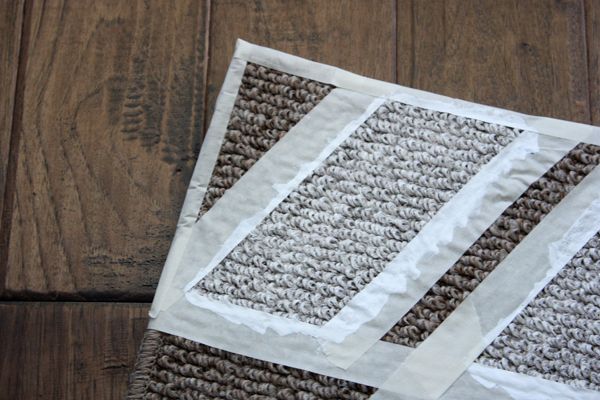
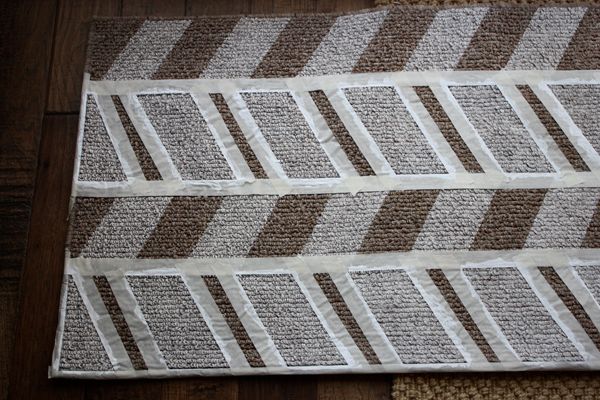
Next step was to repeat the taped pattern on the remaining two sections, but alternating so they sloped the opposite way. I used the corner of the already painted herringbone stripes as a guide and placed the tape corner to corner, again making sure to put the tape on the outside edge of each section to be painted.
I think the most satisfying part of this project was peeling off the last of the tape and seeing the finished product. I wasn't exactly sure it would work out until I took off the last of the tape and saw this beauty. Success!
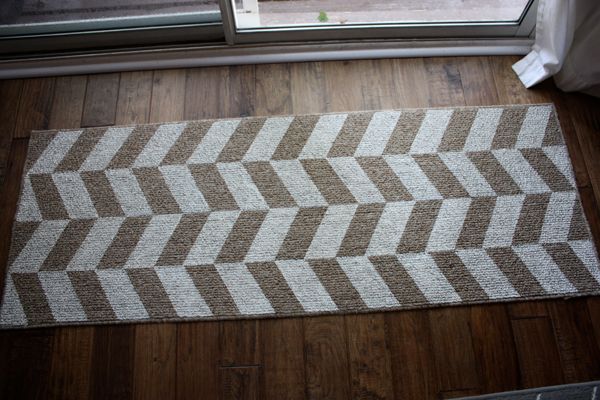
This was my first attempt at doing a herringbone pattern on something, and while it took some time to think out how I was going to properly tape off the rug, it was really simple in the end.
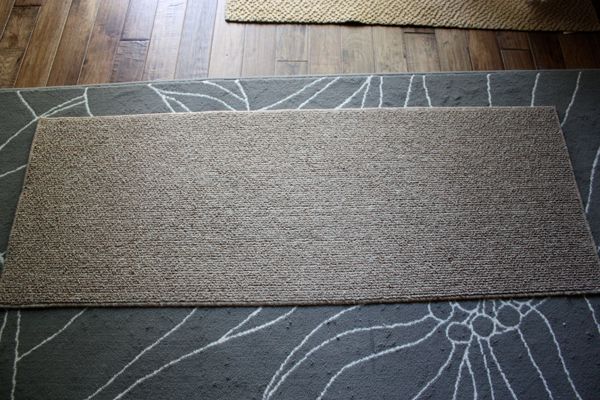
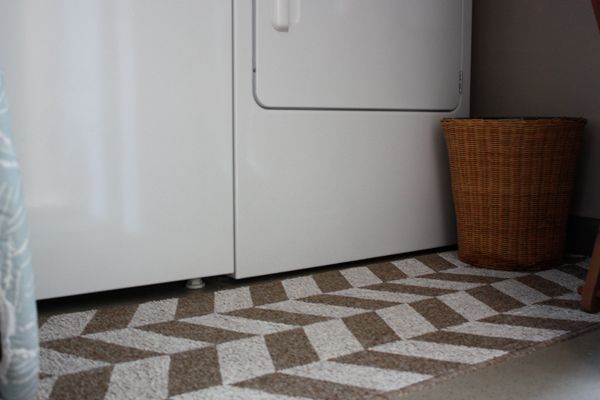
Here's our new rug where it belongs back in the laundry room. I love that it looks like we purchased a new rug rather than painting the old one. Even better, it motivated me to clean up the laundry room (it never looks this empty). I also didn't mind sitting on the rug later that night to fold some laundry fresh out of the dryer.

that looks great! Need to add this to my DIY list.
ReplyDeleteThanks :) It was a lot easier than it might look.
Deletelovely!!
ReplyDeleteThank you!
DeleteLooks SO good!! What a fun way to dress up your laundry room!! :)
ReplyDeleteAnd super easy, too!
DeleteThis is amazing! Did you use plain old wall paint?
ReplyDeleteThanks! Yup, I didn't want to buy new paint so I used some plain pure white paint I had lying around. Just needed a few coats to be dark enough.
DeleteLooks amazing!
ReplyDelete