
I have bad habit of getting a little distracted with my projects and starting too many at once resulting in a few of them getting pushed to the back burner. That was the case with this stool I was reupholstering for a friend of mine.
I bought this old stool forever ago from Goodeals. So long I don't even remember, but it was around late winter/early spring. I had no use for the stool in our house, but it had so much potential that I was dying to take it home and give it a little love. My coworker and good friend Amy had been in the process of updating and decorating her apartment that she moved into several months back. I saw this stool as the perfect housewarming gift.
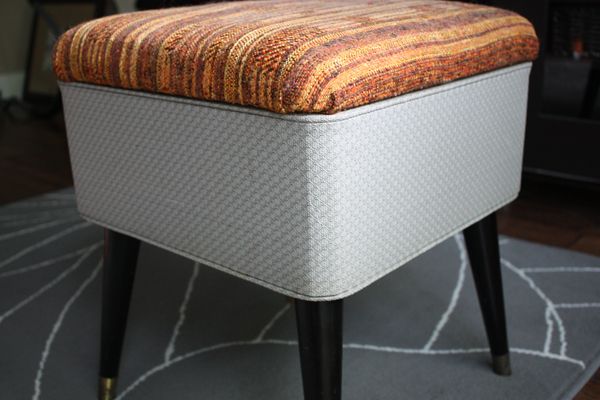
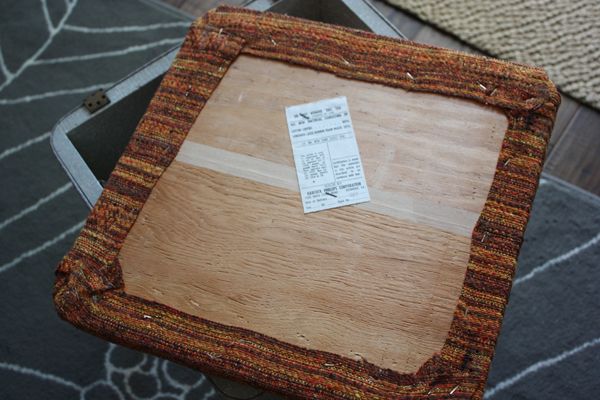
Here are a few shots of the stool how it looked when I purchased it and as I started to take it apart for a makeover.


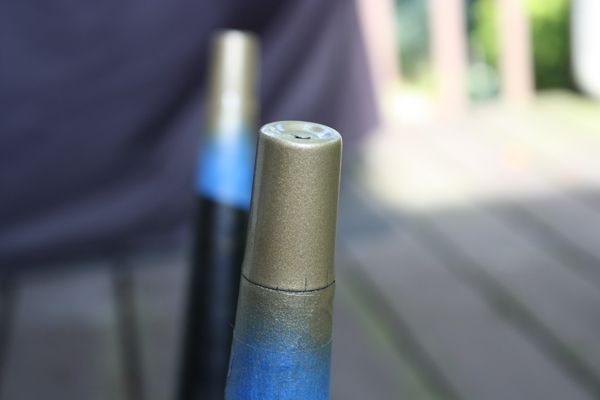
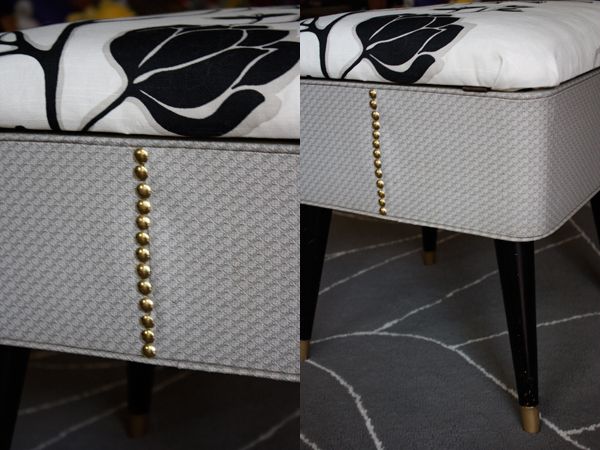
The rusted, cracking gold at the bottom of the legs was screaming for a coverup. While I opted not to repaint the legs themselves, I couldn't leave these in their original condition.

I grabbed a can of gold spray paint that I already owned along with some painter's tape and got to work. They bottom of the legs looked so much better once they had a fresh coat of clean gold.
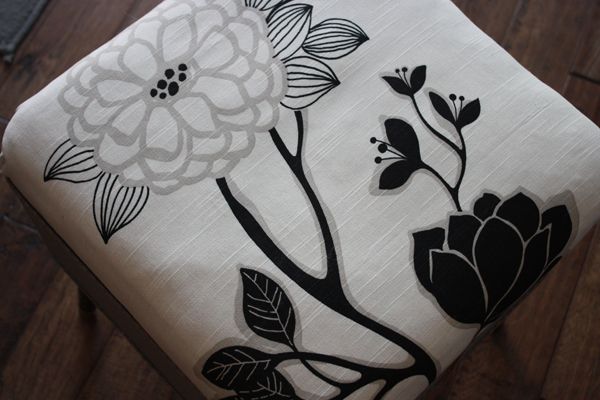
I decided to use this great retro floral fabric I scored from a vintage garage sale. They color combo of black, gray and white perfectly complimented the frame of the stool. I snapped a quick picture on my phone to send to Amy for her approval. She LOVED it.
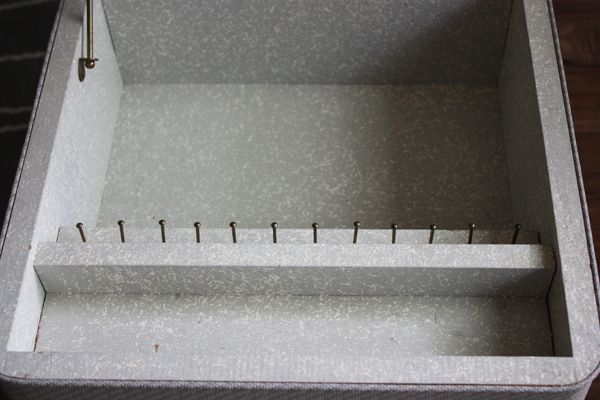
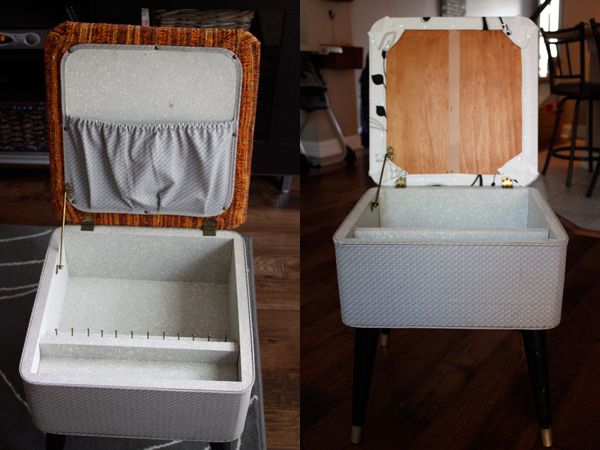
Here is where the stool project took a mini vacation. I struggled a bit with the reupholster. I really wanted to reupholster the entire chair, including the bottom half, but since the current fabric was vinyl and my sewing skills are limited, I didn't want to get in over my head and not be able to finish. I also wanted the inside of the lid to have the same pocket it did originally, but I just couldn't get the fabric to lie flat enough that it wasn't too bulky under the sleeve. Plus the more I messed with it the more flimsy and tacky the sleeve started to look. I got a little frustrated and that's when I took a hiatus.
I started to feel like a bad friend giving Amy empty promises and I'm pretty sure she was starting to wonder if I was really going to finish her stool. Finally, I got my butt to work and decided to forget the pocket (she isn't going to use it as an actual sewing stool), and just focus.
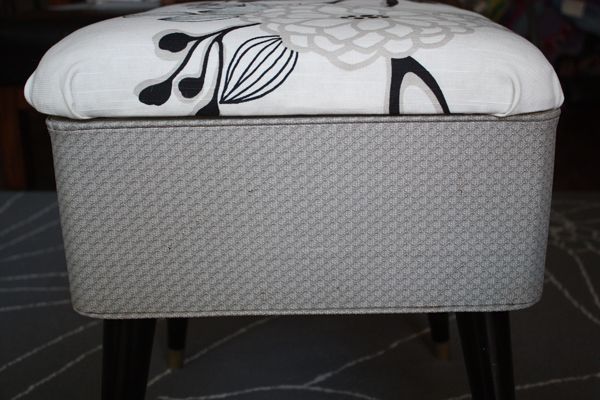
Just the other day I finally had it complete!
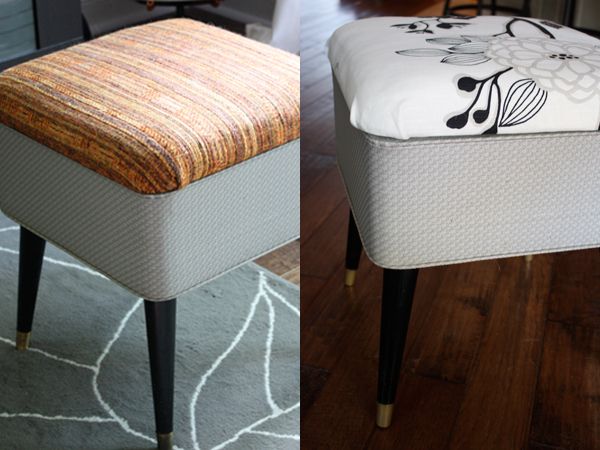
A side by side comparison of the before and after stools.
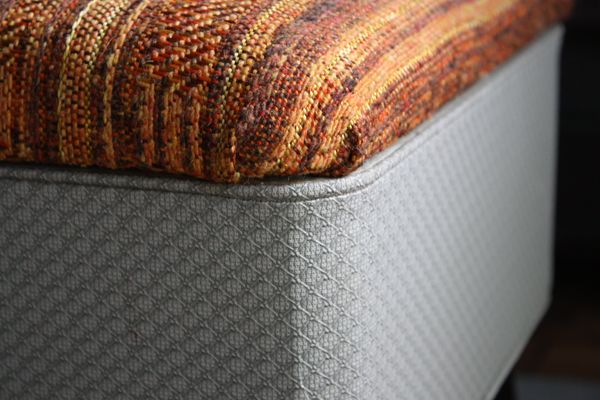
There was a seam in the vinyl that was beginning to split lengthwise so I took some nail head tacks and hammered them in along the length of the split. It isn't perfect, but it was definitely a good quick fix. I've read on many blogs that the nail head trim is easier than doing individual nails and after doing this strip and seeing my crooked line, I wish I had opted for the trim.
Considering this is only my second reupholstering project I think I did a pretty decent job. I'm very critical of my work and have a laundry list of aspects of this stool that I wish I could have done better, but I know this will come in time with more projects. In the end, Amy loves it and that's all that matters.
I'll share some pictures of the stool in her apartment once she sends some my way.
OMG!! That looks great!! :)
ReplyDeleteEek - thanks! I was a little nervous on this one.
DeleteI think it looks great! I know what you mean though... we are all our own worst critics. It really is beautiful, though. Such a thoughtful gift, too.
ReplyDeleteThanks. She loved it so it was a success!!
DeleteYou did an amazing job! You coulda fooled me with this being your second upholstering job!!! Love the pattern too.
ReplyDeletexx
holly foxen wells
GlamourMash
Thanks so much! I think my fancy camera hid most of the flaws. :) But it just motivates me to do more so I can do better. The pattern was from a vintage garage sale I went to!
Delete