
I hope you're ready for a photo overload because this post is jam packed. Side note: if you don't already, but sure to "like" A Simple Kind of Life on Facebook (link to the right). Throughout this process I was posting sneak peek shots of our progress. I also often share behind the scenes photos that don't make to the blog and sometimes not even my Instagram account.
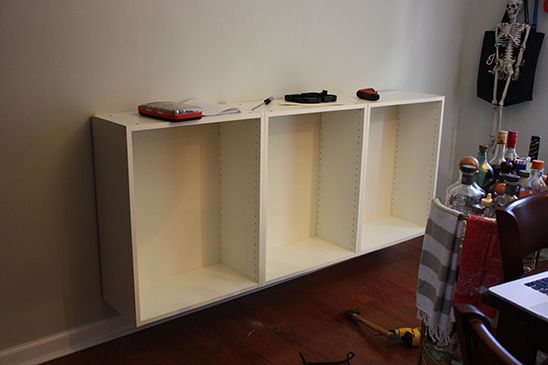
Part 1 of our fauxdenza DIY is complete. We have all three cabinets built and hung securely on the kitchen wall behind our table. We still need to stain and install the wood top, but I wanted to share our progress so far. Tuesday was fauxdenza day in our house. My mother in law took the girls for a few hours so we could tackle the project.
The cabinets themselves were actually very easy to assemble and with us doing them together, took no time at all. We did not attach the doors or insert the shelves at this point as we needed to hang them on the wall first.

Once the cabinets were together, it was time to hang. We purchased a suspension rail from Ikea to mount the cabinets. Each cabinet measures two feet wide, totaling 6 feet for the entire fauxdenza. The suspension rail is about 80" wide so it needed to be cut down.
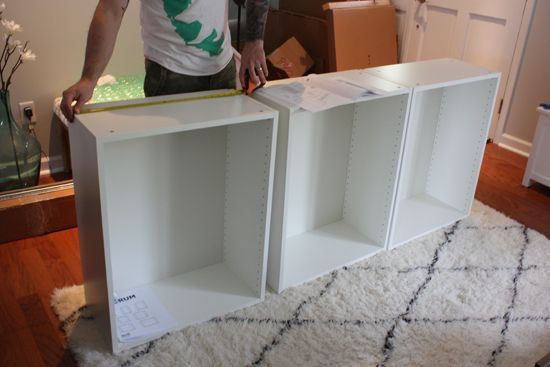
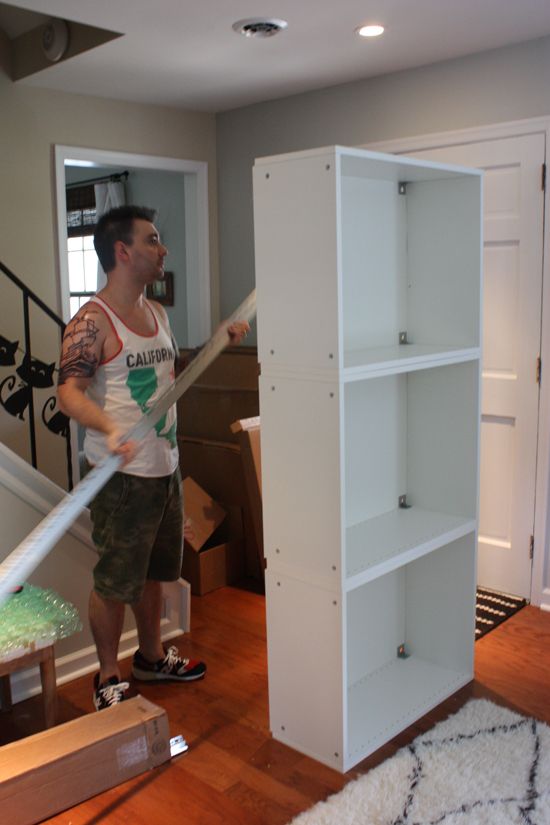
Since our floor isn't smooth we stacked the cabinets vertically so we could line the suspension rail up against the cabinets and mark where to cut. Our reason for measuring against the cabinets and not just cutting at 6 feet is that we wanted the rail to be slightly smaller than 6 feet so you wouldn't see it from the sides of the fauxdenza.
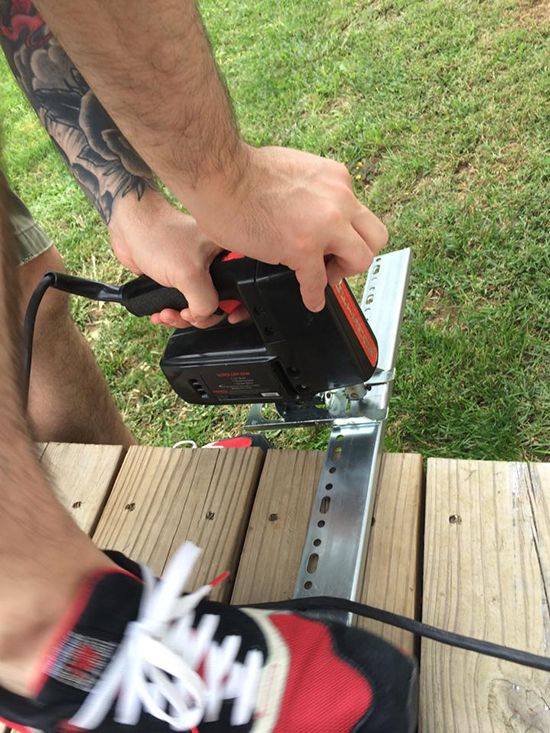
Ikea suggested using a regular manual saw to cut the suspension rail, but we quickly saw that option wasn't going to do the job. Instead, Jordan used a scroller saw and with the exception of a few hiccups where the blade came out, the saw worked great and was pretty quick to cut the rail.
With the rail cut, we now needed to decide the height that we wanted the cabinets so we could measure where the rail was going to have to be installed. Because of the length of the fauxdenza (6 feet), we lucked out that we were hitting 4-5 studs in the wall meaning this was going to be pretty secure. Using the instructions from Ikea we marked out the spots on the wall and prepped to hang the suspension rail.

That's when we hit a bump in the road. We always have a bump in the road with every big project we tackle.
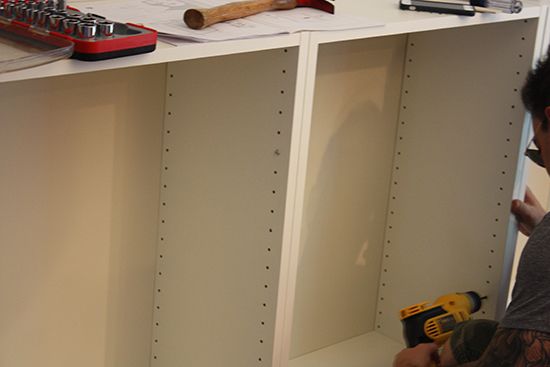
Drill round one.
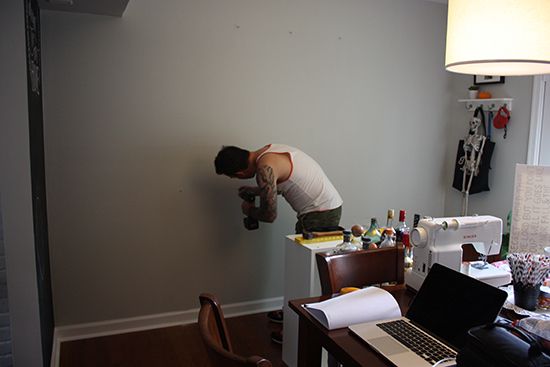
Whoops. Apparently when I took photos of our mudroom progress I forgot to plug the drill charger back into the wall to charge the battery. That and the backup batter was already dead. It wasn't long before we realized that our progress was stuck and we didn't have enough juice to install the anchors for the rail. After a lunch break and the realization that it was going to take several hours to charge the drill enough to do what we needed, Jordan decided to run to Lowes and purchase a drill that could be plugged in.
Drill round two = success!
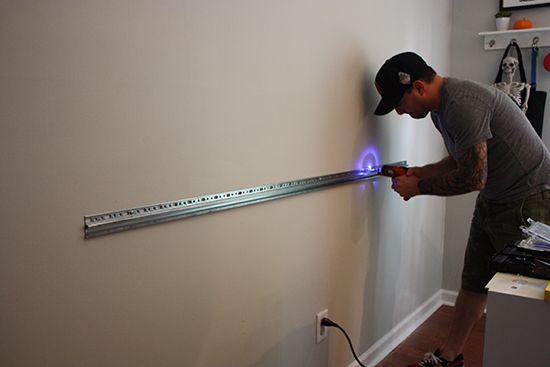
After hanging the suspension bar we attached the cabinets, using Ikea's instructions. Once all three cabinets were hung, we noticed a slight gap between the the middle and right cabinets. This is when we realized that our wall isn't completely flat.
The gap was too big to just let be (we wanted it to look as seamless as possible from the front so you couldn't tell that it is actually made of three separate pieces), so we opted to adjust where it would be easier to hide.

We lifted the suspension bar away from the wall until the cabinets were flush. It looks like a huge gap, but it's actually less than an inch (about .75"). We briefly considered shimming the gap with some wood, but because the rest of the cabinets are so secure, we didn't feel it was necessary and also didn't want people to see the wood looking sloppy. The screw is long enough that it is still very secure into the wall, plus it hits an anchored stud for extra support. In addition, there are 5 very secure screws along the rest of the fauxdenza to hold it in place on the rail.

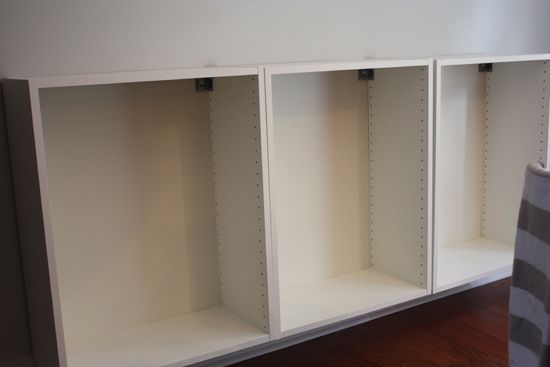
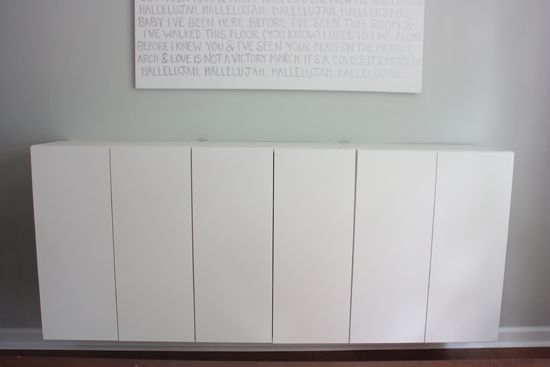
As you can see the results were much better. The Ikea cabinets came with screws so you could screw side by side cabinets together in the inside, also tightening any gap that may show between.
Once finished the cabinets looked great and smooth.
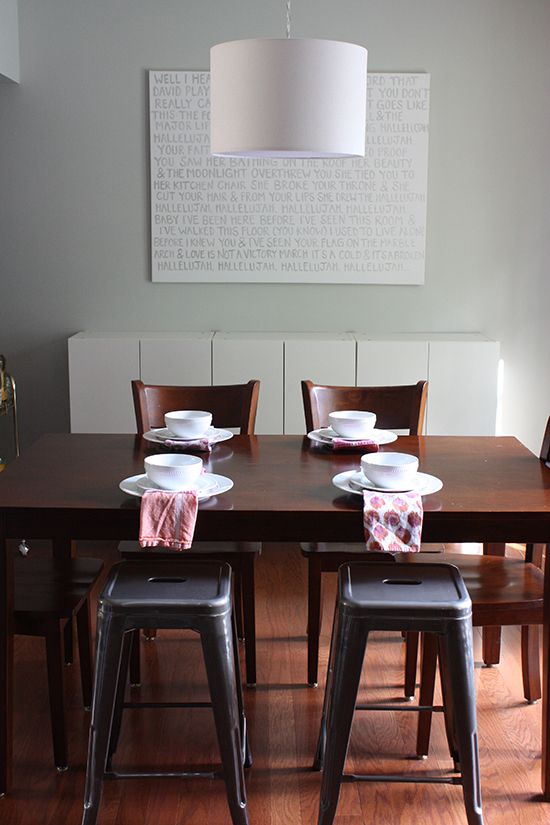
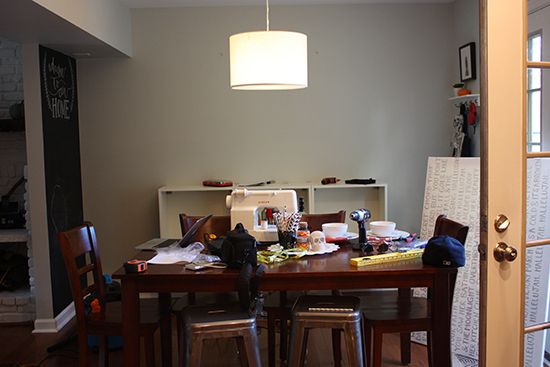
Here's a shot of how our kitchen looked most of the day while we tackled the project.
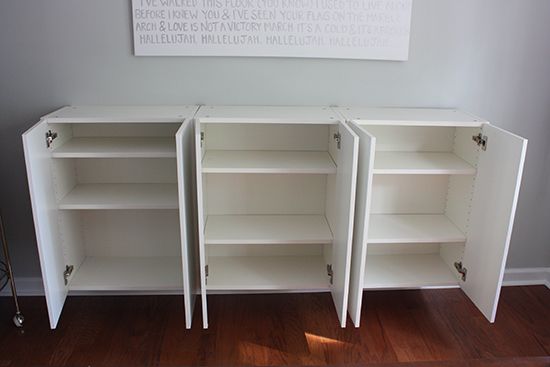
The last two steps were inserting shelves and installing the doors, both of which were fairly simple and straightforward. This is the point where we decided to call it a night. It was past dinner time and the kids were home at this point.

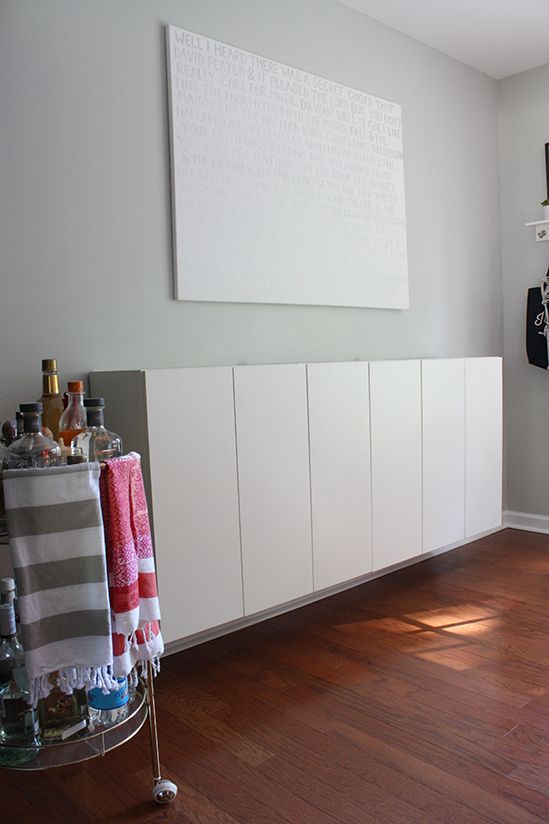
So you can see where we stand with the fauxdenza. It already looks amazing and I'm excited to finish the top, fill those shelves and style the storage unit.
This morning I stop by Lowes and picked up all the supplies needed to finish the fauxdenza. I'm hoping to finish this weekend with results first thing next week.
What do you all think so far?
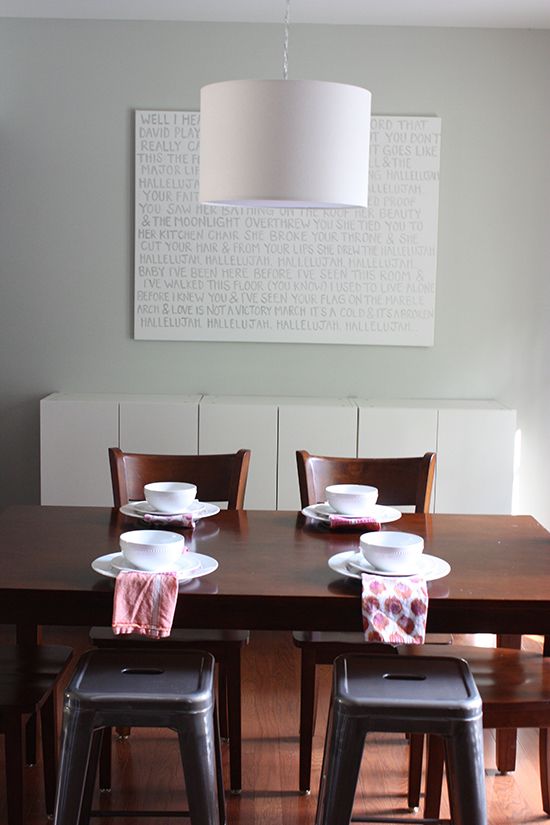
Everything is coming together so nicely! Love the look of these new cabinets, so clean and custom looking. The canvas above is great also, did you make that?
ReplyDeleteYes! I hand painted the lyrics for "Hallelujiah", one of our favorite songs.
Delete