
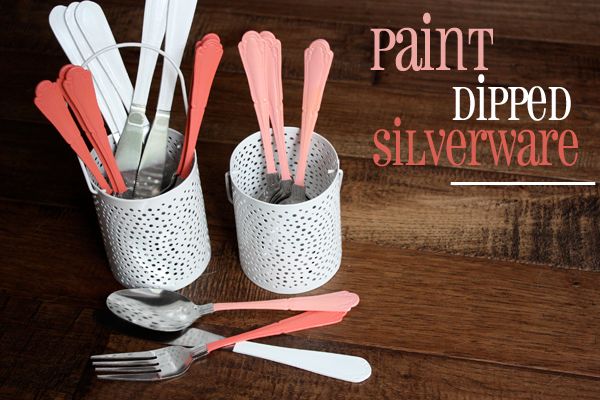
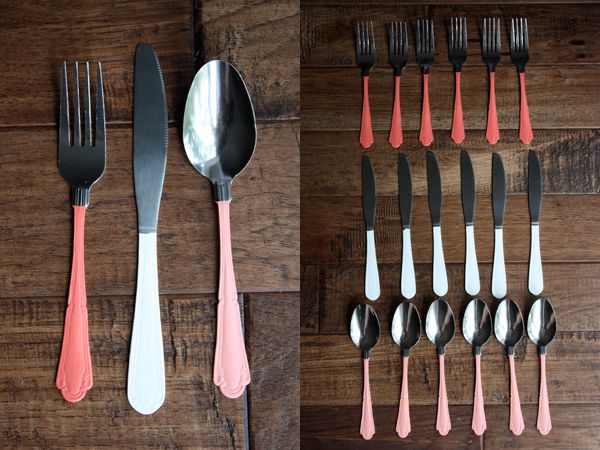
This past week I made some paint dipped silverware to use for Lucy's birthday party. I was inspired by some of the photos I saw while putting together party ideas. It looked easy enough to recreate and I thought they would be a nice addition to the coral theme of the party.
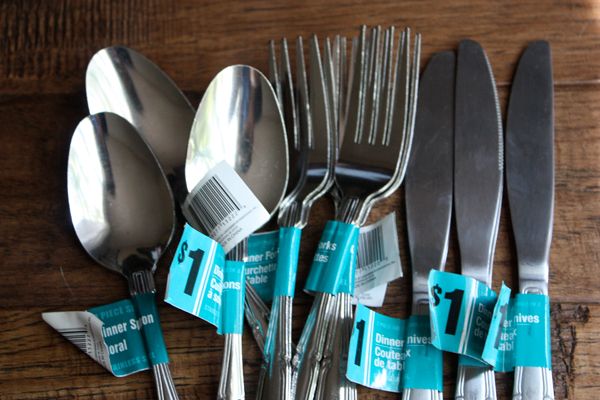
Wanting to keep the cost of this project low, I snagged this set of silverware from my local Dollar Tree. Two pieces of flatware were packaged together for a dollar. I bought enough to make 6 full sets of silverware in case we decide to use them after this weekend for a fun dinner party theme or some other get together.
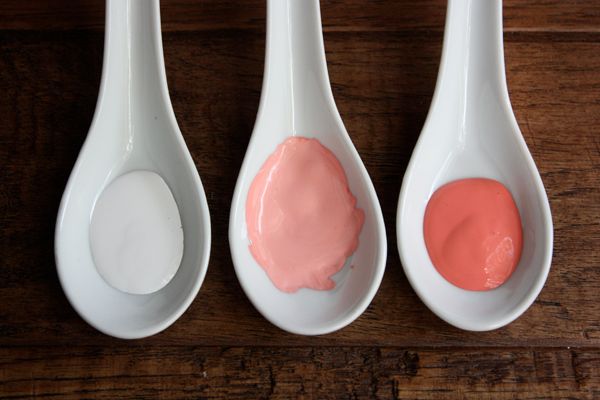
Choosing the color of the paint I wanted was easy since I had her party color theme already planned: dark coral, light coral and white. Because of the specific color I wanted the silverware to be, I needed to use craft paint. Spray paint would probably work just as good if not better, but there was no coral spray paint.
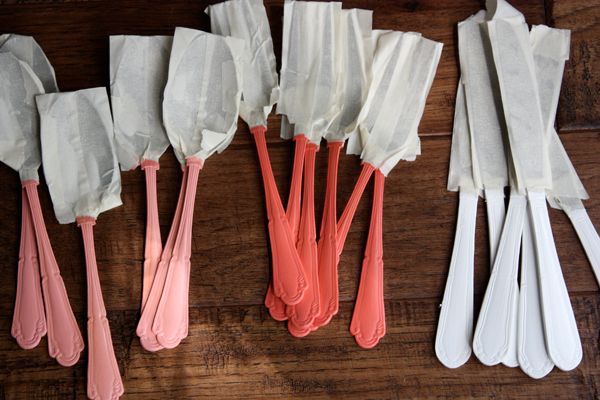
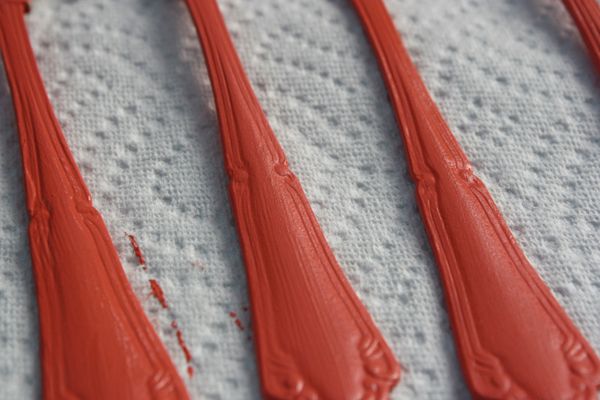
To get to work, I taped off the top half of the silverware where I wanted the paint to stop and to cover any part where food would touch. Once the tape was set I got to work painting each piece of silverware.
I found out the hard way just how easy it is for craft paint to chip. I had a few spots that needed touch ups due to the silverware banging against each other and chipping off pieces before I was able to seal the paint. You want to keep this in mind if you are stashing the silverware somewhere between coats (since I wasn't able to finish this project in one sitting). I also applied several coats of craft paint to keep the color dark.
To make sure the paint didn't chip once I was finished and the silverware had dried, I coated each piece with a layer of acrylic sealer. This stuff is great for sealing paint, mod podge, anything really. I used it previously for my fabric coasters and they have stood the test of time.
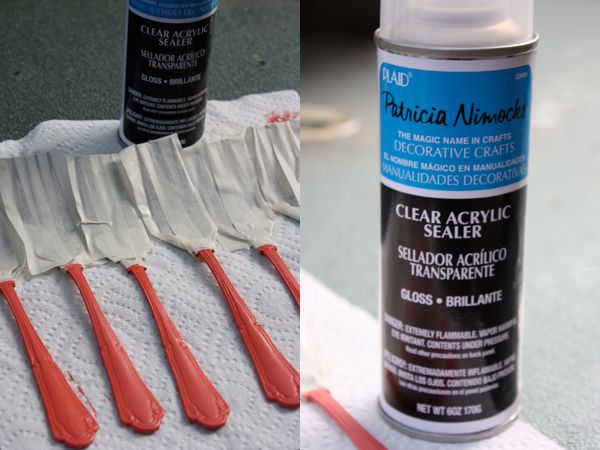
One of the things I like about this sealer is that is makes the paint look glossier and more finished. It also made the silverware feel smoother than the craft paint alone. Sealing the silverware is definitely key. This step is also why it's crucial you cover the top of the silverware so you don't get any acrylic sealer where food is going to touch.
Once the acrylic dries, simply peel of the tape and enjoy your pretty new silverware!
What a great idea!! This party is going to look so well put together!! :)
ReplyDeleteThanks! So far it's invovling lots of late night DIYs since my one year old decided she's over napping for me. Just a little stressful, but it should be fun :)
DeleteI love these! I definitely want to try this!
ReplyDeleteSo simple to do and costs next to nothing.
DeleteJust checked out your blog and I'm hooked!
Gorgeous! I was looking for this exact tutorial and these are the exact colors I'm using! Thank you so much! :)
ReplyDeleteThese look so sweet, I think I'll be making a set for Mother's Day! How do they hold up in the wash? Does the sealer protect them from the dishwasher?
ReplyDeleteThey hold up very well. The sealer definitely helps. I've never put them in the dishwasher, only hand wash. I also don't regularly use them, saved for 'special occasions'.
DeleteDo you know if this will work on real silver? I have sets of my grandmother and great grandmothers silverware that my mom wanted to pawn. I thought it would be sweet to paint/seal the silverware and frame the, as gifts, but I'm not sure if the tarnish will show through the paint. Will that acrylic sealer work??
ReplyDeleteAny advice is appreciated! Thanks!
I would say it probably depends on the finish of the silver. If the silver is too slick or shiny the paint may easily chip off. The acrylic sealer definitely helps. Then again if your planning on framing them and they aren't going to be handled a lot, I would think that they will be much less likely to chip.
DeleteUse white toothpaste and a toothbrush to clean the silver. It worked on 35yr old terribly tarnished silver.
Delete