

The guest room is moving along very nicely. The room is painted, my shower curtain finally arrived, textiles have been swapped and I've already started hanging some decor on the walls. Looks like it's going to be finished sooner than expected. One of the changes I'm making in the bathroom is to create a gallery wall on the far wall behind the toilet. My idea was to hang some nice wooden and metal frames along with some fun decorative pieces.
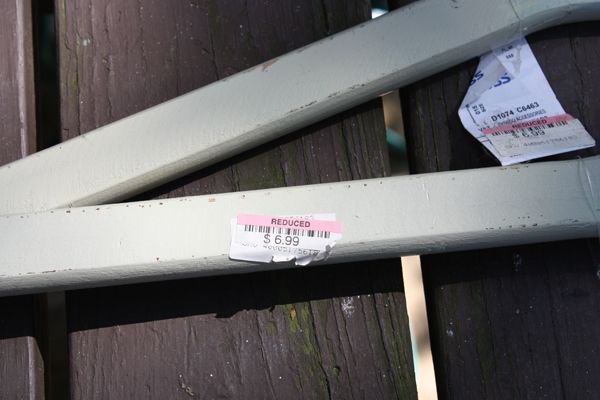
Several years ago I bought these two wooden oars from Ross on sale for $6.99 each. I had absolutely no idea what I wanted to do with them. It was in the beginning of my blogging kick where I started avidly reading DIY blogs like The Lettered Cottage and immediately decided that I needed to have my own little farmhouse cottage with vintage rustic decor (Hence the herb crate purchase, which by the way will be coming down from the wall in favor of a recent animal art piece. More on that later.)
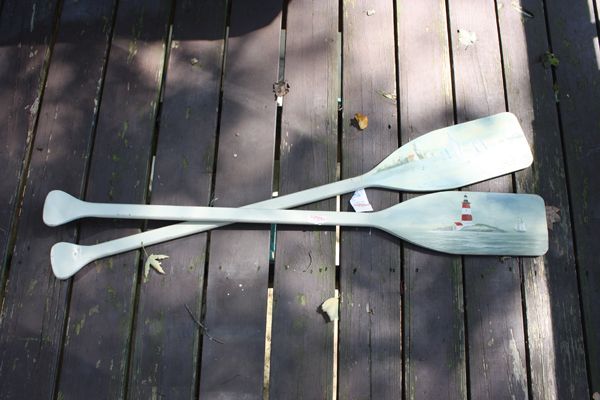
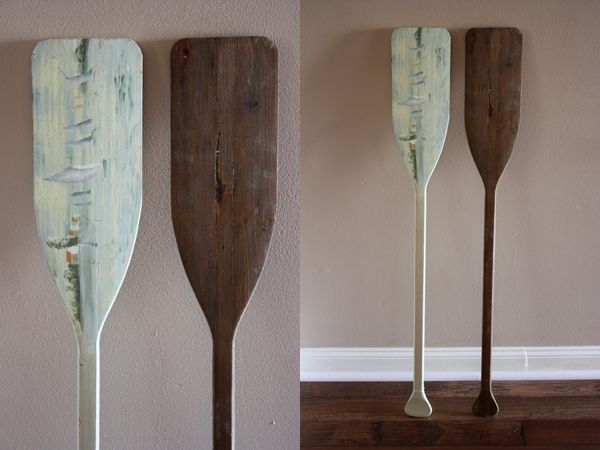
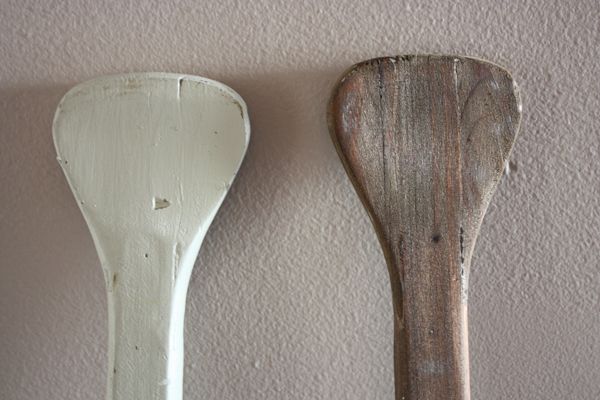
When planning the gallery wall in the guest bathroom I remembered I had these oars stuffed in our basement somewhere. Since my navy and white guest bathroom had taken a somewhat unexpected nautical themed twist, I decided that hanging one of these on the wall with a few of the other things I have been collecting would fit nicely into my theme. As you can see they came with these handpainted scenic designs. Nice and all, but not quite the look I'm going for.
It took maybe 2 hours to completely sand down the oar and remove all the paint. Of course I did all this by hand because we don't have an electric sander. If we did, it probably would have taken half the time. I lucked out that Lucy decided to take a marathon nap that day so I was able to tackle it all in one sitting (with time to spare for a shower afterward, too!).
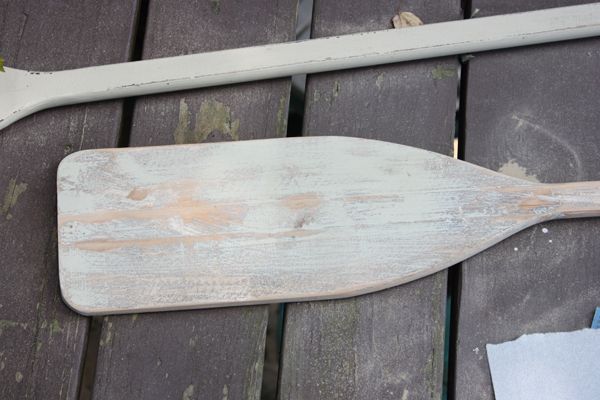
Once finished, I was pleased with how great the condition was on the bare wood oar. It was so smooth and there was little to no residue from the paint.

Staining needed to wait for another day and another naptime for Lucy. Luckily I treated myself to a three day weekend so the next day was perfect. I grabbed some stain I already owned (I have a few different colors from prior projects and opted for the 'middle' shade) along with my other supplies and got to work. After the mess of staining the wine crate, I learned that a mask and rubber gloves are a must when staining. That stuff does not come off your hands easily.

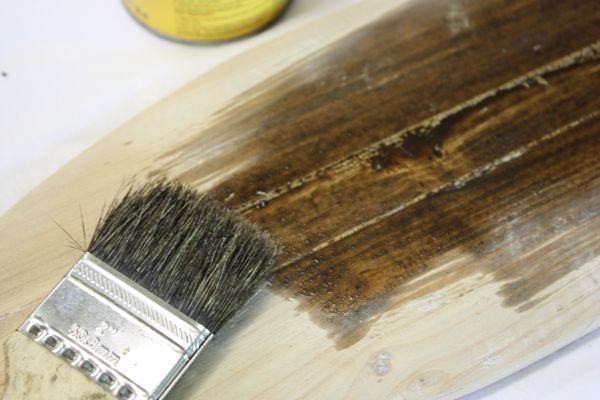
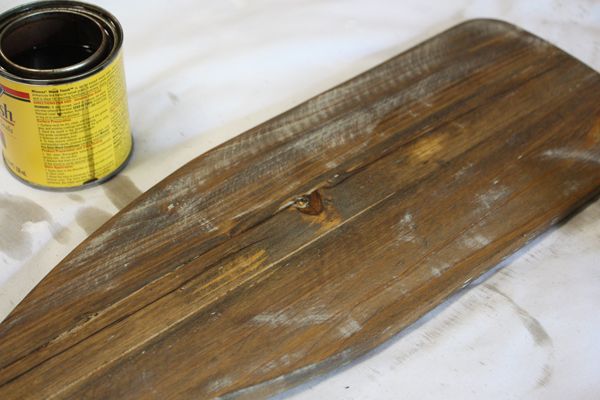
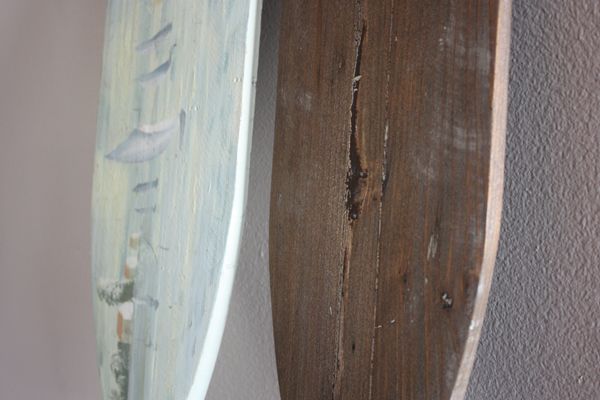
After a coat of the first color I liked how it looked, but wanted more. I decided to take a darker color that I also had from another project and do a few random streaky spots around the oar. Much better!

Once finished, I let the oar dry overnight and used a few coats of my acrylic sealer (Seen here. I love this stuff.) to set the stain. Another day and another nap (I swear now that she's walking this girl naps like a champ) gave me time to hang my newly stained oar on the wall along with some other items, which I will share more about later.
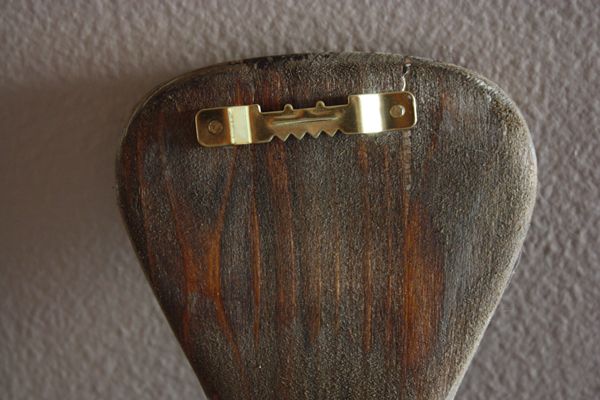
Because the oar is actually pretty light, I attached a simple picture hanger attachment thing(technical word) to the back of it, near the top. I decided that I wanted to hang it vertically with the heaver side towards the bottom. Heavy isn't even the right word because the wood is pretty lightweight.
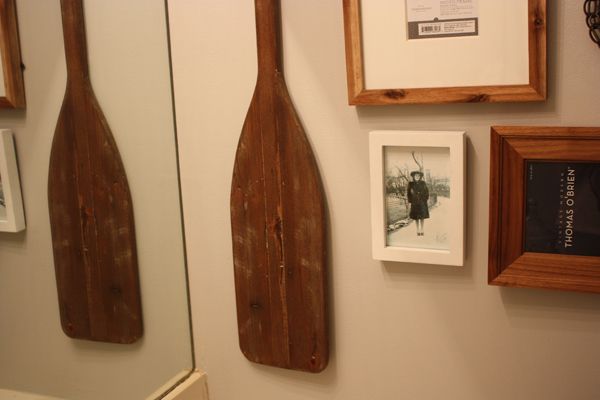
Here is a sneak peek at the corner of bathroom where I hung the oar. Just a sneak peek, though, because I'm not quite finished. While all the frames and accessories are up on the wall, I'm still working to fill those frames and don't want to share it all until the room is complete.
Tomorrow I'll share with you how I took a sentimental piece of art and added a little something for $0 to dress it up for the bathroom gallery wall.
The oars look awesome!
ReplyDeletex
Michelle
www.michellesstylefile.com
what a major update! You did a great job on this DIY, doll!
ReplyDeletexx
Holly Foxen Wells
GlamourMash
so cool!!! Love it
ReplyDelete~Tana