
While I sort through all the living room and family photos I had stored on my camera, I thought I'd share with you all an Ikea hack I did a few months back. I was 9 months pregnant and racing to get things done before Mila came.
When we moved into our new house, we downsized on our walk-in closet space. We still have one, but it's just smaller and doesn't have the shelving our old one did. In addition, we lost the hall closet from our old townhouse that Jordan used for his clothes. Meaning we now share a narrow walk-in closet and I've lost some serious closet space (tears). As a results we needed to purchase a dresser to hold some of my clothes.
We were using the Henmes Ikea dresser in our old master bedroom with matching night stands, but I wasn't crazy about going so dark again with the black-brown furniture. In true Jess fashion, I insisted we get new dressers. My compromise was that we'd buy inexpensive and I would DIY them to look the way we want. We had already purchased these Vilas night stands from Overstock, so their midcentury style look was an inspiration to me.
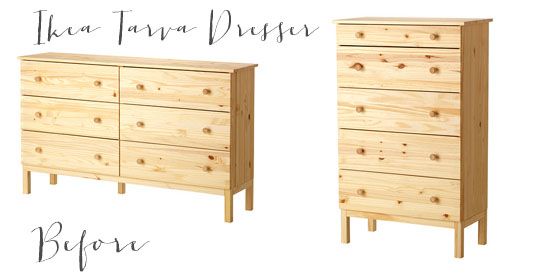
We purchased the 5-drawer ($99) and 6-drawer ($149) Ikea Tarva dressers. These dressers come very bare and unfinished, so they were begging for some DIY love. I had tons of crazy ideas of what I wanted to do with these dressers, including my top choice of mixing white paint and dark stain like in this pin. I will admit that Jordan was a bit skeptical of my DIY aspirations (hey, it happens) and worried that our dressers were going to look cheap. In the end I decided I wanted a look that was going to be classic and that we would be happy with for a long time. I chose to do a simple dark stain and fresh drawer pulls.
I love them.

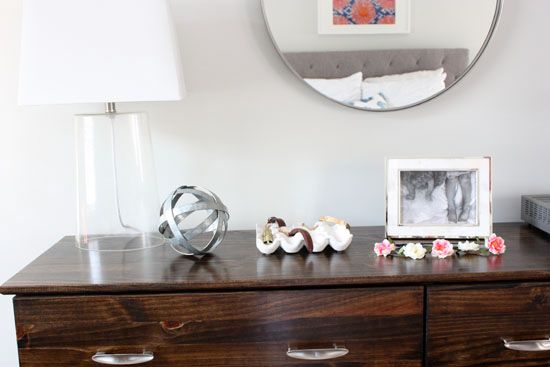
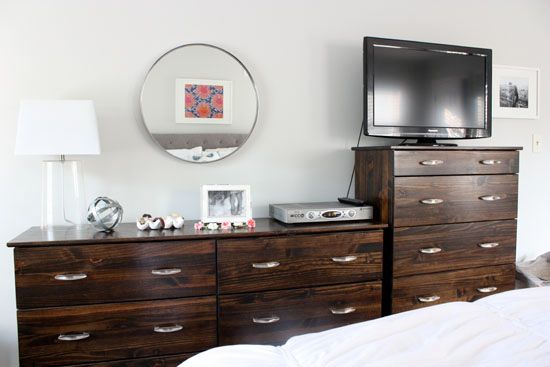
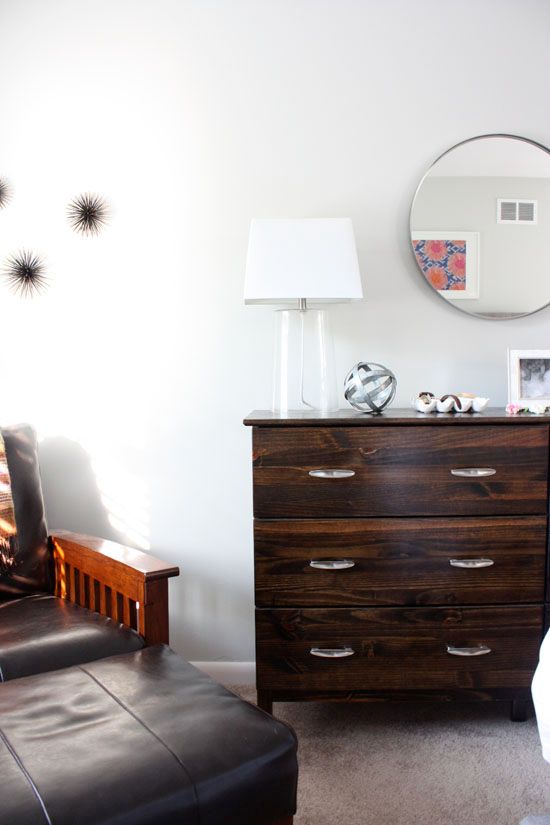
While it doesn't match our night stands exact (but then again I wasn't really trying that hard), these are the perfect shade of deep brown and look amazing against our soft gray walls and the new drawer pulls. I even think they look a bit like the midcentury style West Elm dressers and that makes me happy for the price we paid.
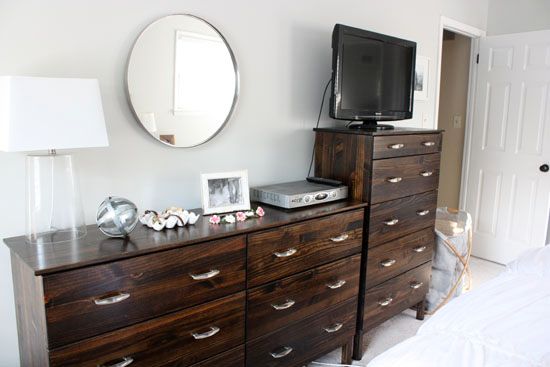
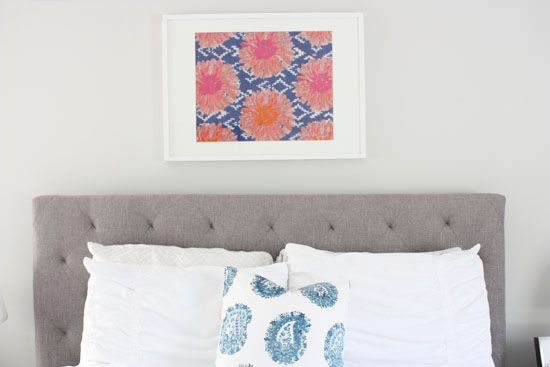
Below you can see the view of the two dressers from where we lie in bed. We debated a number of different ways to place this furniture, but in the end decided to put the dressers together. Once I give a full master bedroom tour it will make more sense. Our bedroom is a long/narrow one measuring 17"x11". Between having three doors (entry/walk-in closet/master bathroom), one fairly large window and another small one, we are limited to what furniture placement looks best. Plus I wanted to make the far wall an office space with a desk along with a corner for lounging/reading in our leather chair.
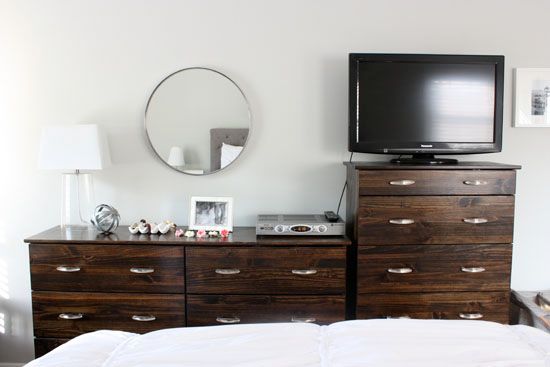
The tall 5-drawer dresser holds Jordan's clothes and the wide 6-drawer dresser holds mine. Isn't it bad that even with this dresser and half a walk-in closet I'm still struggling for space to hold all my clothes? I've recently decided I need to pare down and have begun selling some clothes on the Poshmark app. (Search JessicaDeMaio if you're interested!)
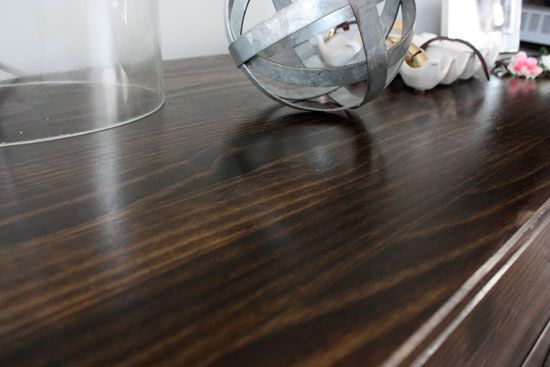
To get this look, I applied two coats of dark walnut stain on the dresser and drawers, followed by two coats of poly. This gave the dresser a nice clean finish with a soft shine, but still upholds a bit of rustic charm. I didn't want a super glossy finish that showed every ding and scratch.
I chose these drawer pulls from Lowe's to swap out the wooden Ikea knobs. I liked their midcentury look and they tied in well with our night stands as well as the other nickel accents in our master bedroom/bathroom.

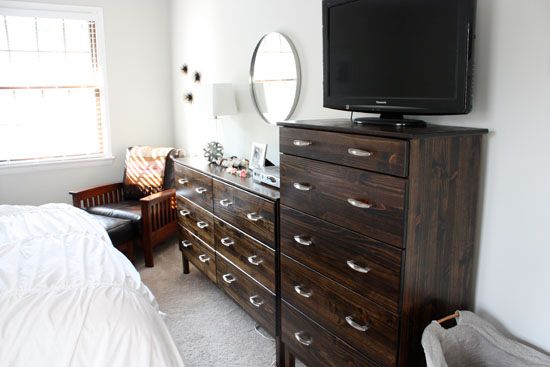
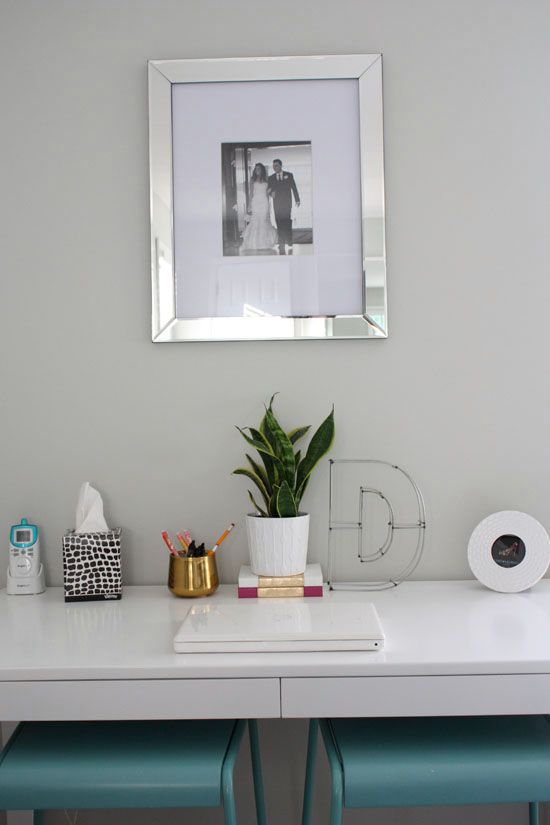
Here is a wide view of the space. The door to our bedroom is on the right of these dressers and there is a small sitting space and large window to the left. Our hamper welcomes you into the bedroom (not my favorite location for it, but the only option right now.) It may look a bit cramped from these photos with the end of the bed, but I assure you in person it doesn't feel that way. The side with the leather chair is actually pretty spacious and we've put a desk against that wall next to the window so I can do some blogging and photo editing in a real work space and not just on the couch anymore. I even have a bassinet between the desk and the bed for those mornings when Mila wakes a little too early.
As I mentioned above, we still have a few small details to finish before I'm ready for a full master bedroom reveal, but I will leave you with these teasers.

Have you done any Ikea hacks lately?
What stain and poly did you use on the Ikea dressers?
ReplyDeleteI used Minwax dark walnut stain and Minwax clear semi-gloss polyurethane.
DeleteThanks! They look great!
ReplyDeleteDid you have to sand or use a wood conditioner before you stained them? Thanks!
ReplyDeletelooks great! out of curiosity, did you do apply a pre-conditioner to the wood before staining?
ReplyDeleteI did not. The dressers from ikea were pretty raw to begin with so I just went straight to the stain and they took really well.
DeleteI love your Tarva hack! I'm looking to do something similar. I'm curious as to how much wood stain you needed to complete this project? Also, how much polyurethane?
ReplyDeleteI love this hack! I'd like to do something similar as I just bought the 5- and 6-drawer Tarva dressers. How much wood stain did you need to complete this project? And how much polyurethane? I'm assuming you used the quart-size cans?
ReplyDeleteI love this hack! I'd like to do something similar as I just bought the 5- and 6-drawer Tarva dressers. How much wood stain did you need to complete this project? And how much polyurethane? I'm assuming you used the quart-size cans?
ReplyDelete