

I'm not even sure why, but long before I was even had Lucy, one thing I've always wanted as a mom was to have frames all over my walls proudly displaying my child's artwork. That has been a dream of mine for a while. The idea of it just seems so sentimental and sweet and I love the idea of such one of a kind, personal art. Plus I not so secretly hope my children enjoy doing arts and crafts as much as I do.
I also want Lucy to look back and remember me as a fun mom. I hope that when she grows up she can say her childhood was never boring. Of course I'm dying for her to have a creative artsy side, but I would never force it on her. Lucy is now at the age when I can really start to introduce little activities to her and take her to Children's Museums and other interactive places and I want to take full advantage of that.
I can honestly say I had a fun mom. My mom is very creative and has an artsy side. After all, her father was an artist. I remember she used to buy these huge rolls of paper and every year or so she would trace the outline of each of us on the paper. We would finish the drawing of ourselves by drawing and filling in the clothes, hair, etc. It was fun to pull out the old ones and see how we had grown. One year for Dr. Seuss' birthday, my mom made us green eggs and ham. I'm pretty sure we all looked at her like she was crazy and no one ate any, but still the idea was fun and genuine. My mom also used to make us homemade 'happy meals' with her own chicken nuggets, fries, and brown paper bags. Some days she would give us a newspaper article and assign everyone a letter. Our task was to find that letter and circle it every time it appeared throughout the article. Looking back now I'm sure that last one was just my mom trying to give herself 15 minutes to get dinner started. Nonetheless I still remember it and we found fun in the activity.
I came across the idea of making homemade edible finger paint on Meggan's website, The Birth of a Mother. It looked like such a fun idea and a great way to spend an afternoon with Lucy. The recipe I used was from this website I found by searching on Pinterest. Love Pinterest. How many times have I praised that website?
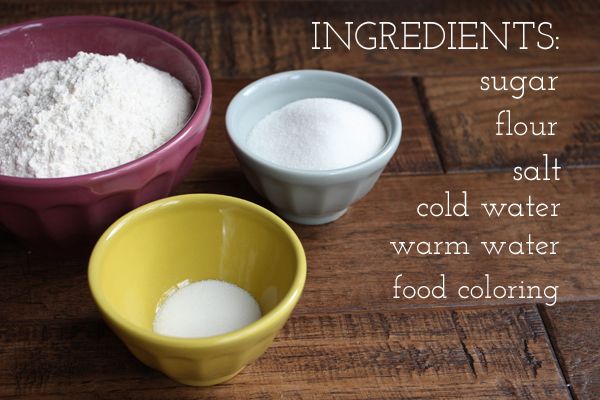
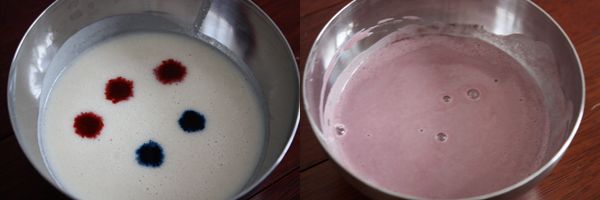
I followed the recipe on the website, but needed to adapt it a bit when I found my mixture to be super watery and too runny to stick to paper. I tossed almost another full cup of flour into the mixture until it was the texture I wanted. Looking back I would cut the entire recipe in half because I had a lot of leftover paint in the end.

The food coloring I purchased was just a generic Target brand box I grabbed while stocking up for the hurricane. What I didn't realize until I got home was that the box had little recipes on the back to make your own custom colors. I knew from the beginning that I didn't really want the traditional red, blue, yellow, green color scheme and planned to attempt creating my own colors anyway. I thought this was a great idea.
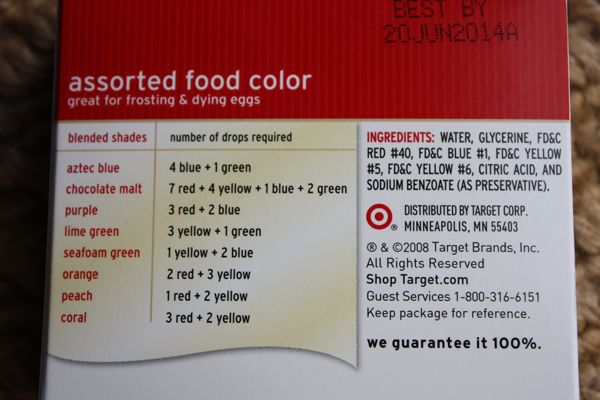
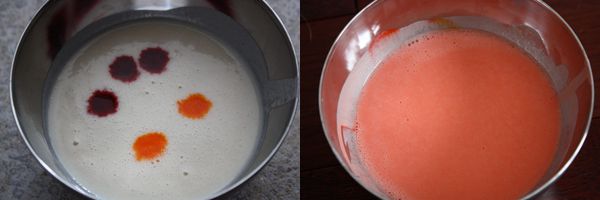
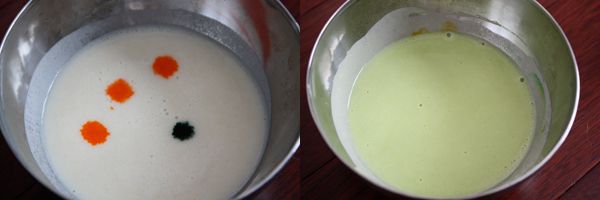
I opted for coral, lime green, purple and aztec blue.

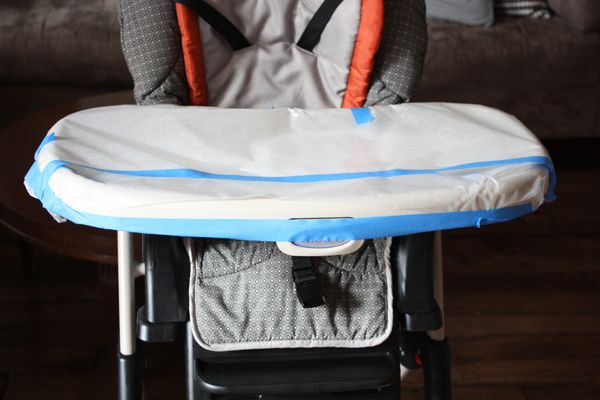
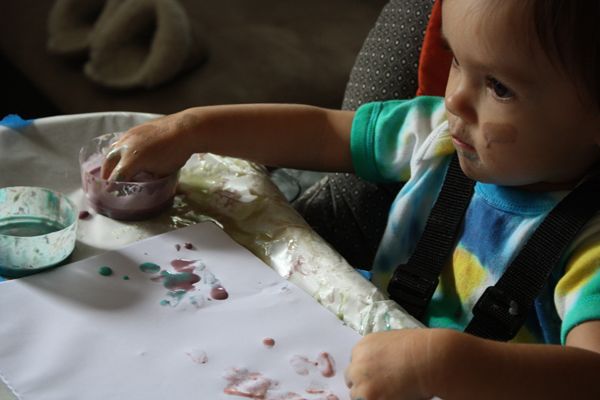
One of the smartest things I did for this project was covering Lucy's highchair tray with parchment paper. As she painted, pools of paint built up all over the tray and it was so easy to just grab all the paper at once and toss it when she was finished. I didn't have to clean an inch of the trays. Now the seat straps were another story. I'm still scraping dried up paint out of them. Next time I'll wrap them in parchment paper, too.
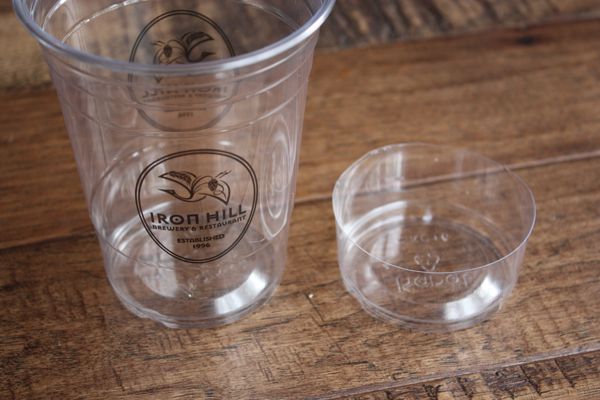
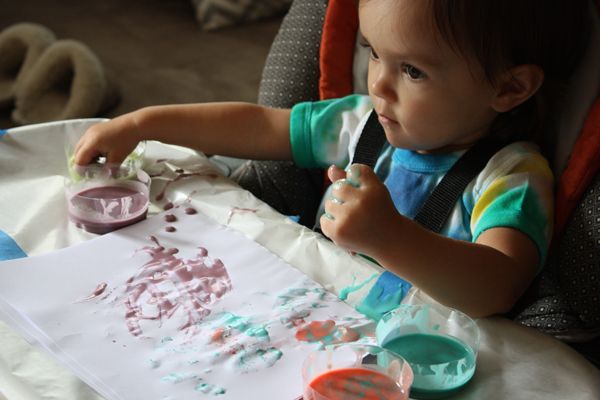
I made the paint while Lucy was napping and decided to transfer smaller portions into mini cups for her to use. Knowing Lucy and her tendency to try to 'dump' things on her highchair, I wanted to lose a little paint as possible if she started the craft with a good spill. I took some plastic cups we already had at home and simply cut them down to size.
Once Lucy woke up and had a little power snack of cheese and strawberries, we were ready to paint! I was actually surprised that she dove right into the paint and got to work.
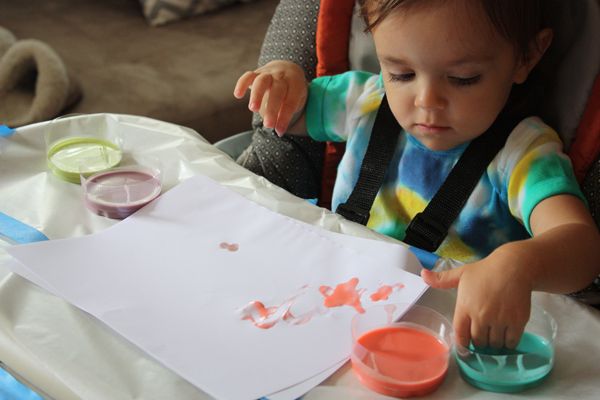
Lucy had a few different techniques. One was dabbing the paper with the tip of her finger, another was smearing the paint with her entire hand. I pretty much let her play and do what she wanted with the paint, even tasting it a little it as she went along.
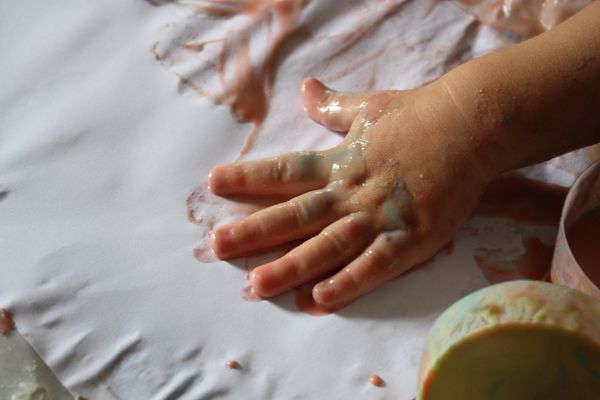
One of her favorite techniques (although it wasn't necessarily a painting technique) was to squeeze the paint in the palms of her hands. I think she enjoyed the texture since it was a little thicker than traditional paint.
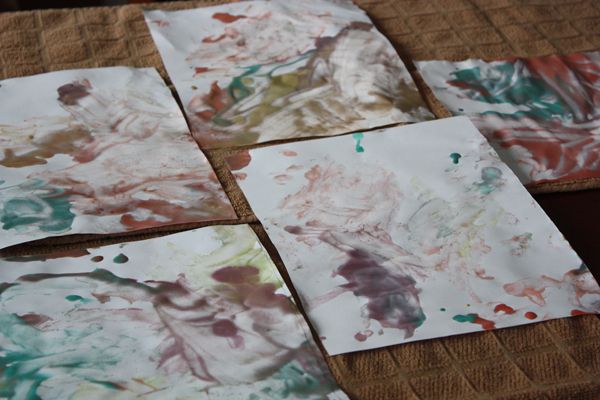
In the end Lucy made 8 pieces of art. I just kept swapping out paper as each filled up until she became bored with it (aka was only interested in eating the paint.) Because of the texture of the paint, I set towels out and put the art on the towels to dry overnight. The pages were a little heavy while they were wet, but once dry were much lighter and easier to work with.
I love every single one of them.
And in case you were wondering how Lucy fared..

Honestly even cleaning her up wasn't that bad. The good thing about the ingredients of the paint is that when it started to dry, it formed sort of a paste and wasn't drippy. I didn't have to worry about smearing the paint on myself and simply carried her right up to the bathroom and stuck her in the tub.
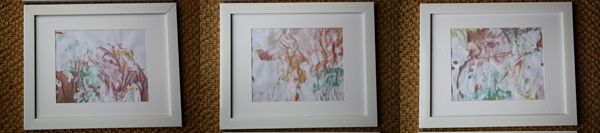
I already purchased frames for three of my favorite pieces. Still debating where to hang them, but thinking in the dining room.
I am obsessed with this!!! I will DEF be copying you!! How pretty is her artwork?! I need some artwork for our upstairs bathroom and that would be so fun to have pieces Olivia could create! :)
ReplyDeleteLucy had fun doing it, too. Pretty easy cleanup is always a plus. I definitely recommend for a rainy/snowy day project. :)
DeleteI just saw this post! (Seriously back up on blogging since I'm full force wedding planning these days) Her art is SO cute! I have always dreamt of framing my children's art, too! I can't believe I didn't frame Sylas's. I did save it, though! I'll have to let him play again and get some frames...and hmmmm...Christmas gifts sounds genius! :)
ReplyDelete